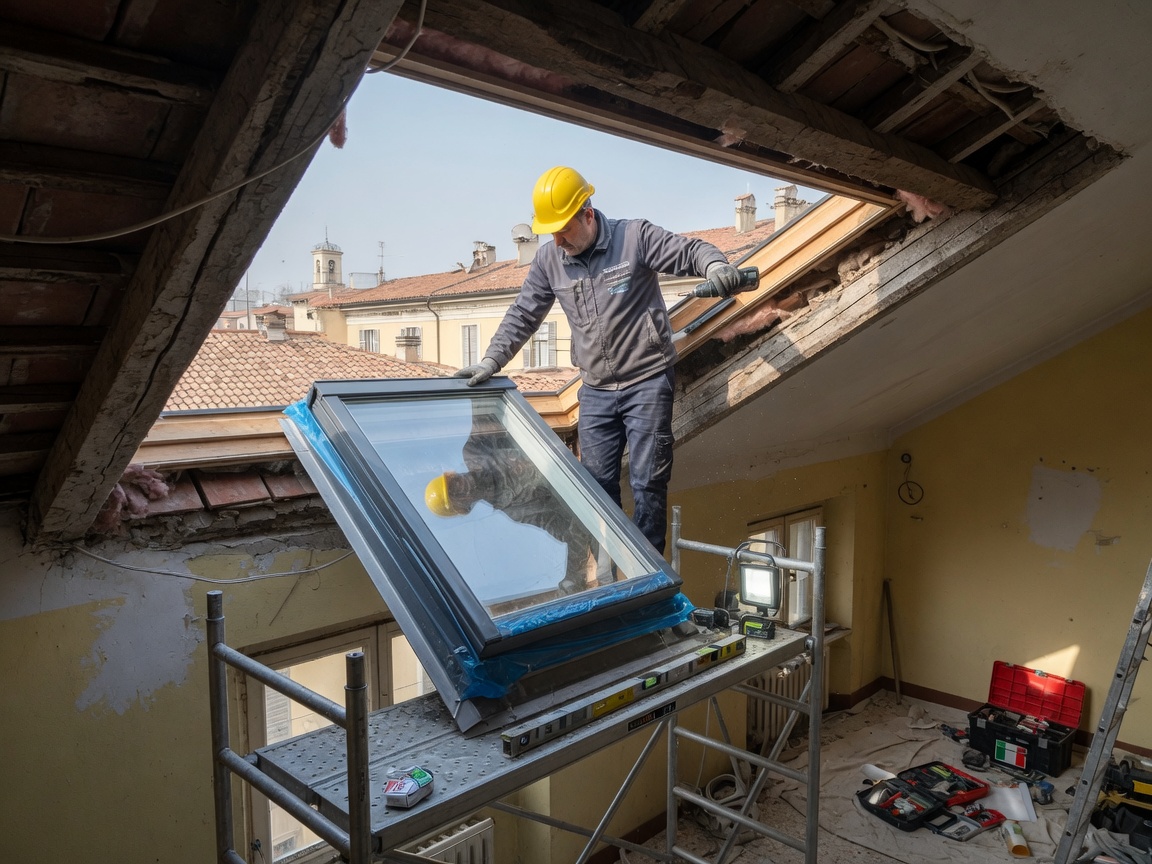
Parma homes built in the 1950s through 1970s along State Road and Pearl Road often have asphalt shingle roofs with limited attic ventilation. Adding a skylight requires cutting through existing decking while maintaining the roof's load path, especially important when snow piles up during humid continental winters. Flashing must extend under shingles on all sides and tie into existing step flashing to avoid water intrusion when meltwater pools around the curb.
Cleveland Metroparks borders several Parma neighborhoods, creating microclimates with higher humidity that can accelerate condensation inside skylight frames if the unit lacks proper thermal breaks. Installers here typically use self-flashing models with pre-formed bases rather than site-built curbs on steeper pitches common in Ridgewood. Older rafters spaced 24 inches on center need sistering or blocking before the opening is cut to prevent sagging under snow weight.
Seven Hills and Pleasant Valley sections have many split-level homes where skylights sit over living areas with finished ceilings below. This forces careful insulation baffles and vapor barrier detailing around the shaft to keep warm air from reaching the cold glass during January cold snaps. Proper sequencing means installing the skylight after underlayment but before shingles so the apron flashing sits correctly.
Nearby Cleveland Heights and Parma Heights share similar freeze-thaw cycles that stress skylight seals over time. Using butyl tape and high-quality polyurethane caulk at all joints helps, but the real key is ensuring the rough opening matches manufacturer tolerances exactly rather than forcing a fit on uneven older decking.
Technician insight
In Parma, the thing that catches most people out with Skylight Installation is how quickly snow drifts against the curb on north-facing slopes during our cold winters, especially on 1960s homes in Pleasant Valley where original underlayment has already dried out and cracked.
Ridgewood Split-Level Skylight
Homeowner reported water stains on the ceiling after a heavy March snow. Inspection showed the original skylight flashing had pulled away where the roof met a valley. We removed the old unit, reinforced the rafters, installed a new ventilating model with extended step flashing, and restored shingles. No further leaks appeared through the next winter.
Skylight Installation Services We Offer
✓Fixed Skylight Installation
Install non-opening skylights with insulated glass to bring daylight into attics over Ridgewood and State Road homes without adding ventilation paths that could leak during snow melt.
✓Ventilating Skylight Installation
Add operable skylights with crank or electric motors for homes near Cleveland Metroparks where summer humidity builds up and needs controlled airflow without compromising winter snow shedding.
✓Tubular Skylight Installation
Fit small-diameter reflective tubes through attics in Pleasant Valley split-levels where full-size skylights would require major rafter changes or affect finished ceilings.
✓Skylight Curb and Flashing Upgrade
Replace aging curbs and step flashing on existing skylights in Seven Hills homes to handle increased snow loads and prevent leaks common after multiple freeze-thaw seasons.
✓Skylight Removal and Roof Restoration
Remove unwanted skylights and restore decking and shingles on Parma Heights properties where previous installations created chronic leak points around Veterans Memorial Park.
Skylight Installation Cost in Parma, OH
| Service | Typical Range | What Affects It |
|---|---|---|
| Fixed skylight unit and basic install | $900–$1,600 | Moves with glass type and roof pitch |
| Ventilating skylight with electric operator | $1,400–$2,300 | Higher for second-story access on split-levels |
| Tubular skylight | $450–$750 | Lower when no major framing changes needed |
| Curb and flashing replacement only | $600–$1,100 | Common on 30-plus-year-old Parma roofs |
Ranges are typical for Parma, OH and confirmed with an exact written quote before any work starts.
How it works
- 1
Site Assessment
Inspect rafter spacing, attic insulation, and existing flashing condition on the specific roof slope in the target neighborhood.
- 2
Opening Preparation
Mark and reinforce the cut, install headers or sistered rafters, and apply ice-and-water shield around the perimeter.
- 3
Unit Placement
Set the skylight on the prepared curb, secure per manufacturer torque specs, and integrate apron and step flashing under shingles.
- 4
Interior Finishing And Test
Seal the shaft, add insulation baffles, then run a hose test to confirm no water entry before leaving the site.
Pricing
Costs depend on skylight size, roof access, and whether rafter work is required.